A Comprehensive Guide to Base Materials for Artificial Turf Installation
When planning an artificial turf installation, whether for a residential backyard, or a commercial sports field, the base material is a critical component that can make or break the project. The base serves as the foundation, providing stability, ensuring proper drainage, and contributing to the longevity and aesthetics of your synthetic lawn. For visitors to TurfInstall.com, this guide offers a detailed look at the most common base materials used in artificial turf installation, their benefits, and practical tips for DIY enthusiasts and professionals alike.
Why the Base Material Is Crucial
The base material is the layer between the ground and the artificial turf, acting as a stabilizing platform that supports foot traffic, sports activities, or even pets. A well-prepared base:
-
Ensures Stability: Prevents shifting, sagging, or uneven surfaces.
-
Facilitates Drainage: Allows water to flow freely, avoiding pooling that can lead to mold or turf damage.
-
Enhances Longevity: A solid base can extend the life of your turf, often up to 15 years or more.
-
Improves Aesthetics: A smooth, level base ensures the turf looks natural and professional.
For Boise residents, where weather conditions can vary from dry summers to wet winters, choosing the right base material is especially important to handle local climate challenges.
Common Types of Base Materials
Below, we explore the three primary base materials used in artificial turf installation, as recommended by industry experts and local suppliers.
1. Crushed Miscellaneous Base (CMB)
- Description: CMB, also known as Crushed Miscellaneous Base, is a cost-effective mix of recycled asphalt or concrete combined with sand and gravel. It typically has a maximum particle size of 3/4 inch, making it coarse yet compactable.
- Advantages:
- Budget-Friendly: One of the most affordable options, ideal for residential projects with limited budgets.
- Durable: Suitable for light to moderate foot traffic, such as backyard lawns or pet areas.
- Widely Available: Often recommended by local gravel pits, making it easy to source in Boise.
- Disadvantages:
- Less Stable for Heavy Use: May not be ideal for high-traffic areas like sports fields or commercial spaces.
- Variable Composition: As it includes recycled materials, consistency can vary depending on the source.
- Best For: Residential lawns, DIY projects, and areas with moderate traffic.
- Example Use Case: A Boise homeowner looking to replace their front yard with low-maintenance artificial turf might choose CMB for its affordability and reliability for light use.
2. Class II Road Base
- Description: Class II Road Base is a high-quality mix of concrete and fines (small particles) that undergoes rigorous testing for consistency and durability. Like CMB, it has a maximum particle size of 3/4 inch but is more compact.
- Advantages:
- High Stability: Ideal for high-traffic areas due to its ability to withstand heavy use without shifting.
- Excellent Drainage: Its composition allows water to drain effectively, reducing the risk of pooling.
- Industry Standard: Often recommended by the Association of Synthetic Grass Installers for a 70:30 ratio of solid mass to fines.
- Disadvantages:
- Higher Cost: More expensive than CMB, which may be a consideration for large-scale projects.
- Best For: Sports fields, commercial installations, and high-traffic residential areas.
- Example Use Case: A Boise community center installing a multi-purpose sports field would benefit from Class II Road Base for its durability and drainage properties.
3. Decomposed Granite (DG)
- Description: Decomposed Granite (DG) is a mixture of finely crushed granite, gravel, and clay, known for its smooth texture and permeability.
- Advantages:
- Smooth Finish: Provides a polished look, making it ideal for putting greens or aesthetically focused installations.
- High Permeability: Excellent for quick drainage, especially in areas with heavy rainfall.
- Natural Feel: Mimics the feel of natural earth, enhancing the turf’s realism.
- Disadvantages:
- Higher Cost: More expensive than CMB or Class II Road Base.
- Maintenance Needs: May require additional upkeep in certain soil conditions to prevent shifting.
- Best For: Putting greens, residential lawns prioritizing aesthetics, and areas with high water runoff.
- Example Use Case: A Boise golf enthusiast installing a backyard putting green would choose DG for its smooth surface and drainage capabilities.
Comparison Table of Base Materials
|
Base Material |
Composition |
Cost |
Best Use |
Drainage |
Stability |
|---|---|---|---|---|---|
|
CMB |
Recycled asphalt/concrete, sand, gravel |
Low |
Residential lawns |
Good |
Moderate |
|
Class II Road Base |
Concrete, fines |
Medium |
Residential lawns, Sports fields, commercial |
Excellent |
High |
|
Decomposed Granite |
Granite, gravel, clay |
High |
Putting greens, aesthetic lawns |
Excellent |
High |
Additional Considerations
While the base material is the foundation of your artificial turf system, other factors play a role in ensuring a successful installation:
-
Fine Aggregates and Sand: These are often mixed with coarse aggregates (like CMB or DG) to fill gaps and enhance compaction. Silica sand, for example, contributes to permeability and stability.
-
Infill Materials: Though not part of the base, infill materials like rubber crumbs, sand, or coated silica are applied on top of the turf to keep blades upright and provide cushioning. For pet owners, materials like Zeolite can help reduce odors.
-
Drainage: Proper drainage is critical to prevent water accumulation, which can damage the turf or promote mold growth. A slight grade (1-2%) should be incorporated during installation.
-
Compaction: The base must be compacted to at least 95% density using a plate compactor to ensure stability and prevent settling over time.
Installation Tips for DIY Enthusiasts
For those tackling a DIY artificial turf project in Boise, proper base preparation is key to achieving professional results. Follow these steps:
- Site Preparation:
- Remove all existing sod, weeds, rocks, and debris from the area.
- Excavate the soil to a depth of 3-4 inches to accommodate the base material.
-
Base Installation:
- Spread the chosen base material (CMB, Class II Road Base, or DG) evenly across the area
- Use a plate compactor to achieve 95% compaction, ensuring a stable and level surface.
-
Leveling and Drainage:
- Create a slight grade (1-2%) to facilitate water runoff, especially important in Boise’s variable climate.
- Check the surface with a contractor’s level to ensure it’s smooth and even.
-
Weed Barrier (Optional):
- Install a weed barrier fabric beneath the base to prevent weed growth, particularly in areas with persistent weed issues (RCP Block & Brick).
-
Turf Installation:
- Lay out the artificial turf, allowing it to acclimate in the sun for 1-2 hours to reduce stiffness.
- Secure the turf with nails or seaming tape, ensuring seams are aligned and the grain runs in the same direction.
Tools & Materials
Top 10 Landscaping Shovels
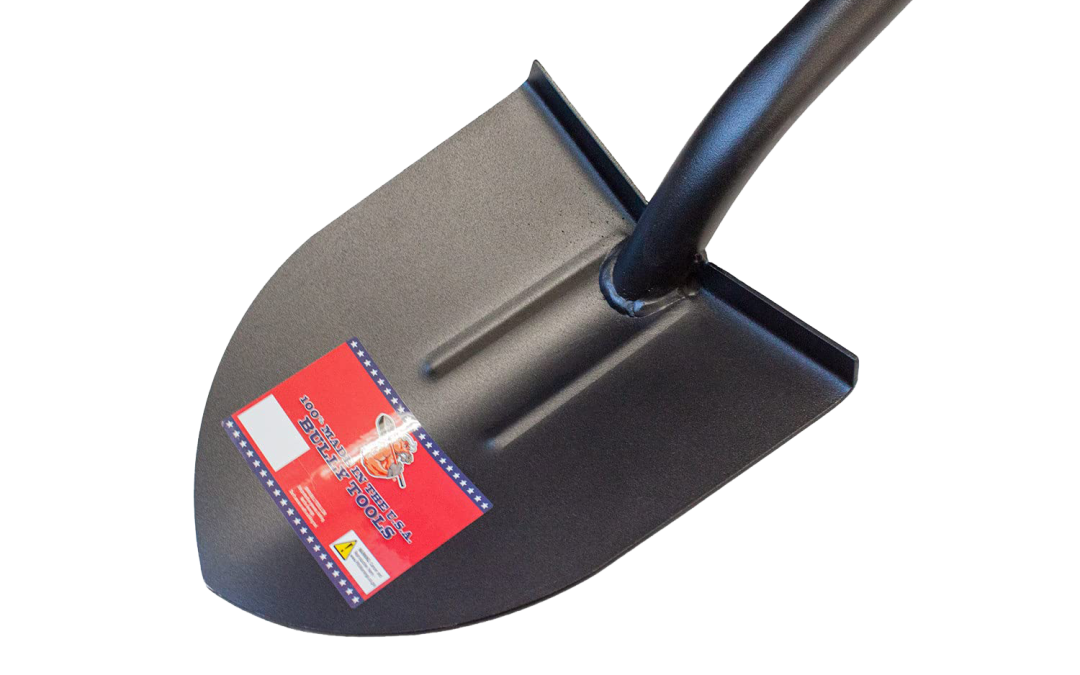
Preparing your yard for artificial turf installation requires the right tools, and a high-quality shovel is essential for tasks like removing grass and spreading base materials, as outlined in the Private-Label Install Guide. At turfinstall.com, we recommend top shovels like the durable Bully Tools 12-Gauge Round Point Shovel for digging…
Top Sod Cutters
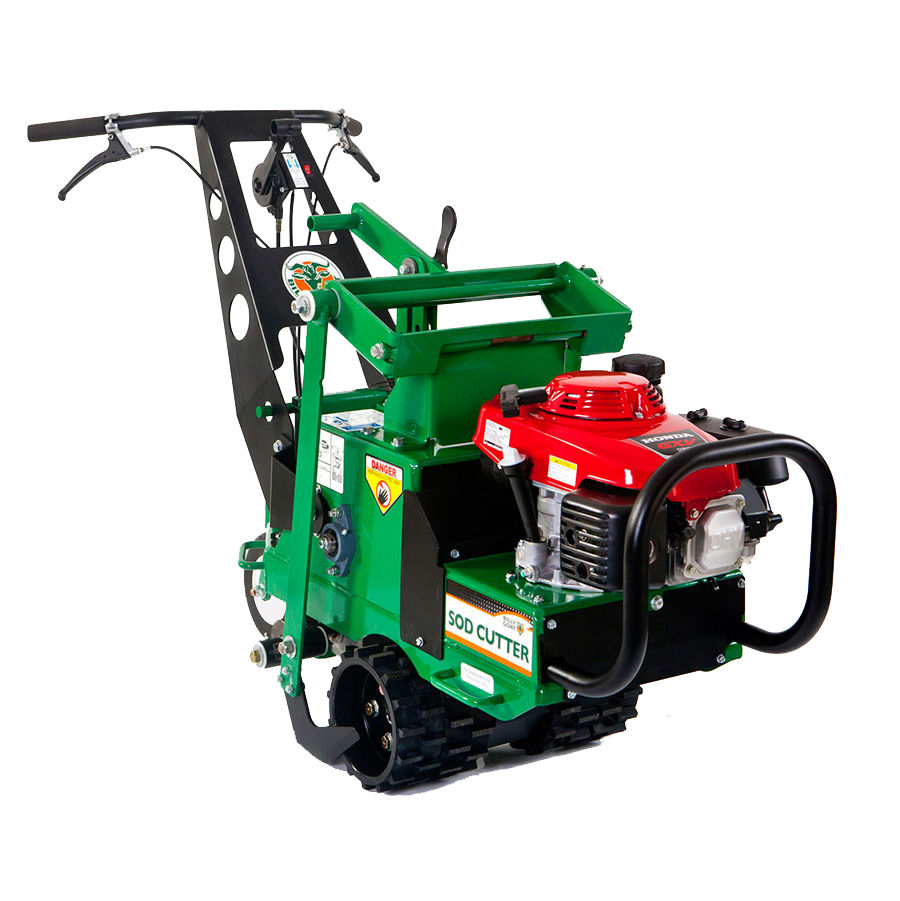
Preparing for an artificial turf installation starts with choosing the right sod cutter to create a smooth, level base. Our latest article at turfinstall.com reviews the top sod cutters for 2025, including the Classen PRO Hydro-Drive, Billy Goat SC181H, and KisCutter, highlighting their features and suitability for DIY and professional…
Best Wheelbarrows
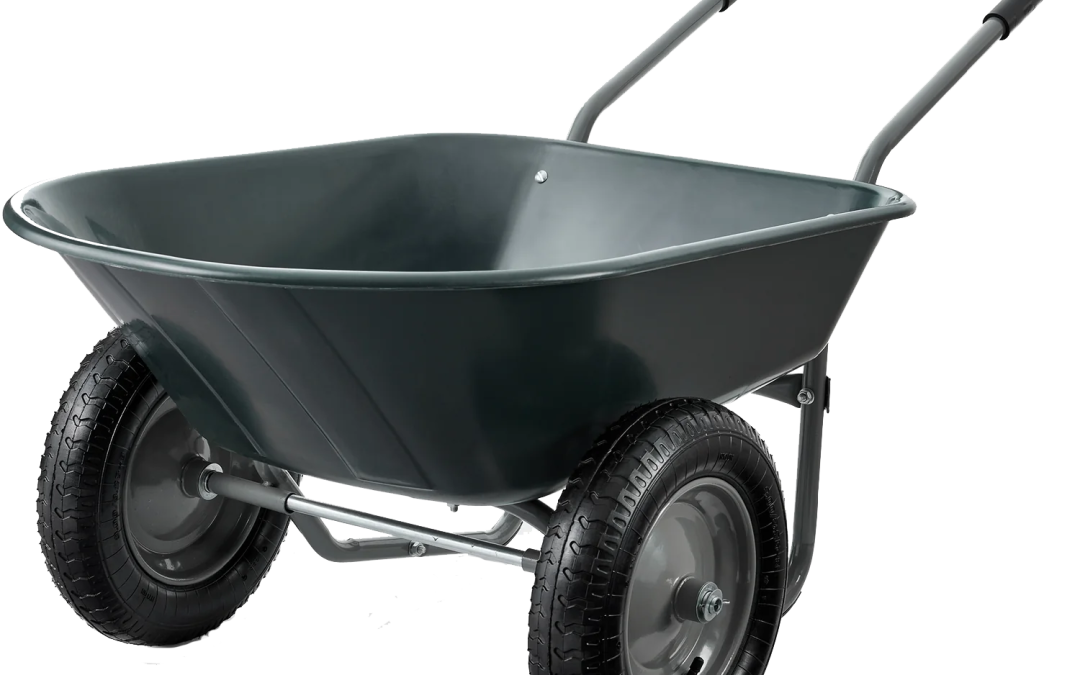
When selecting a wheelbarrow for artificial turf installation, prioritize high weight capacity, multi-wheel stability for uneven terrain, durable materials, and user-friendly features like comfortable handles or quick-release dumping. These factors ensure efficiency and ease during your project.
The Best Rakes
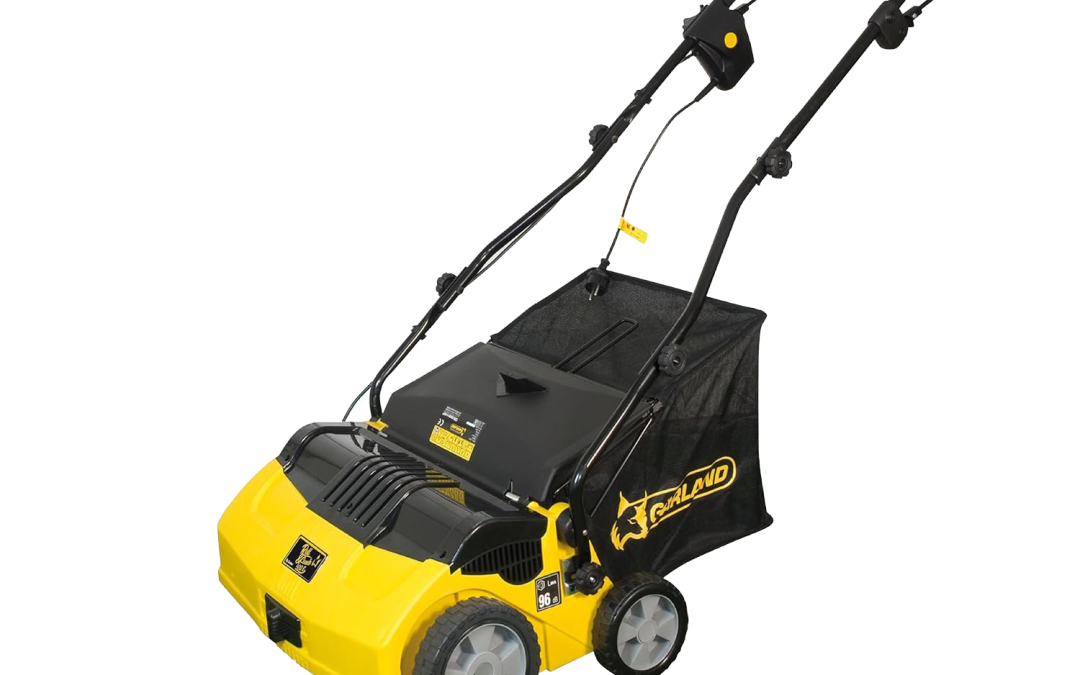
Choosing the right rake for your artificial turf project is vital for achieving a professional finish and maintaining long-term performance. From the versatile TurfHub Turf Rake to the powerful Duralawn Artificial Grass Power Rake, these tools cater to a range of needs, ensuring your turf stays pristine. Visit turfinstall.com for…
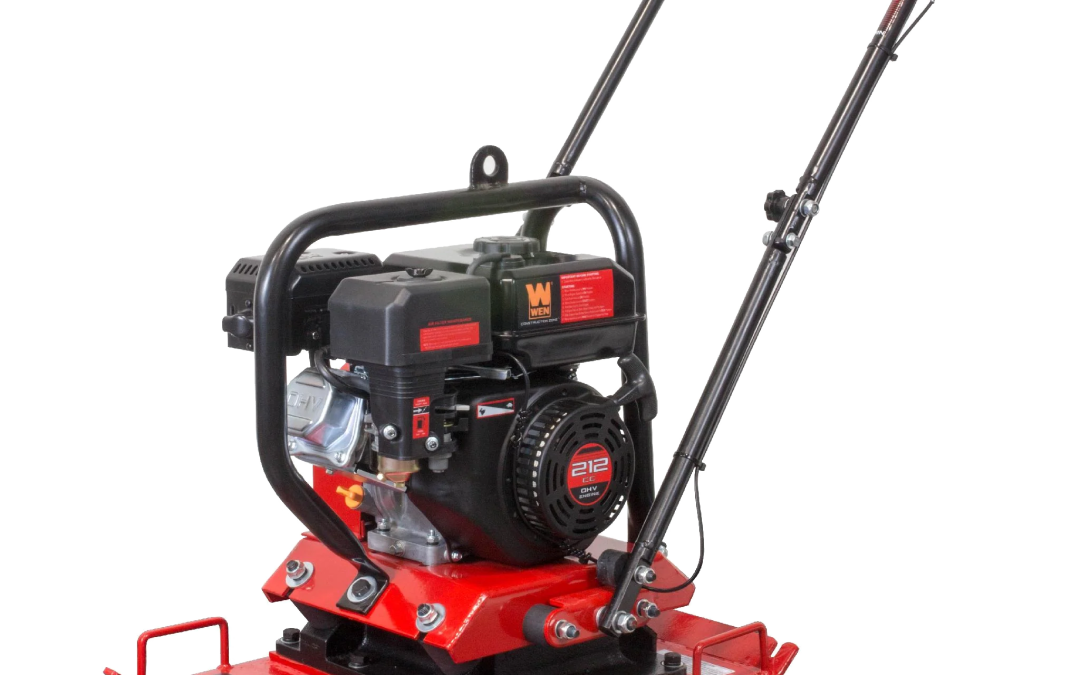
Top Plate Compactors
A high-quality plate compactor is a must-have tool for anyone installing artificial turf, whether for a residential backyard in Boise or a commercial sports field. By choosing a compactor with the right compaction force and features, you can ensure a stable, long-lasting sub-base that enhances the beauty and functionality of…
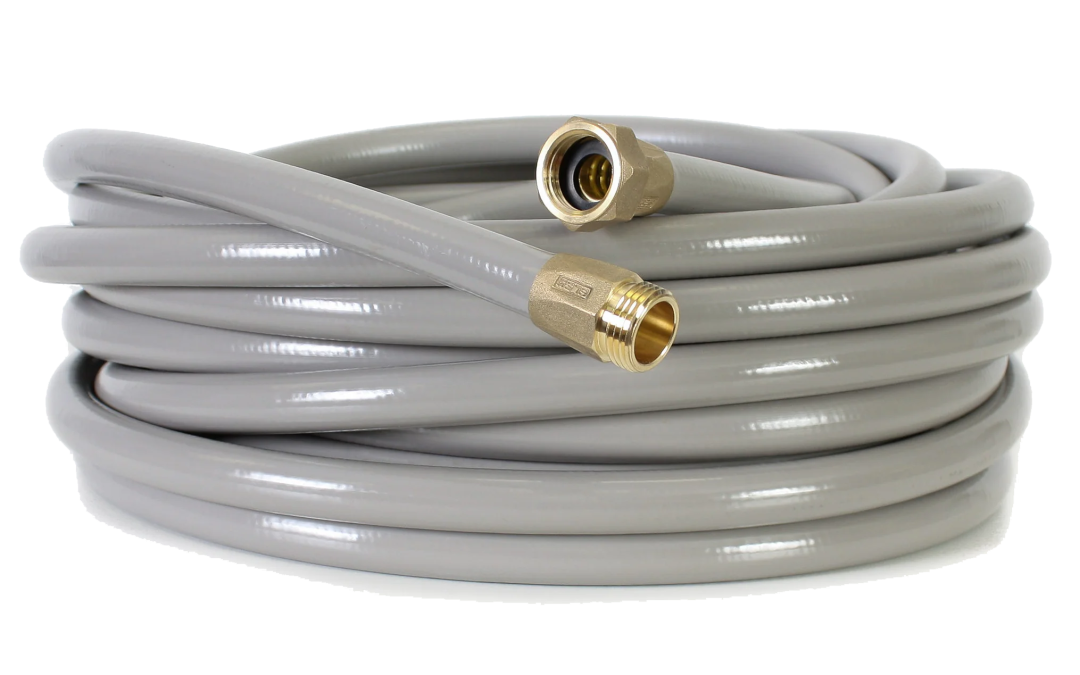
Best Garden Hoses
Investing in a high-quality garden hose is a small but significant step toward a successful artificial turf installation. By choosing a hose that matches your project’s size, terrain, and budget, you can ensure a smooth installation process, saving time and effort.
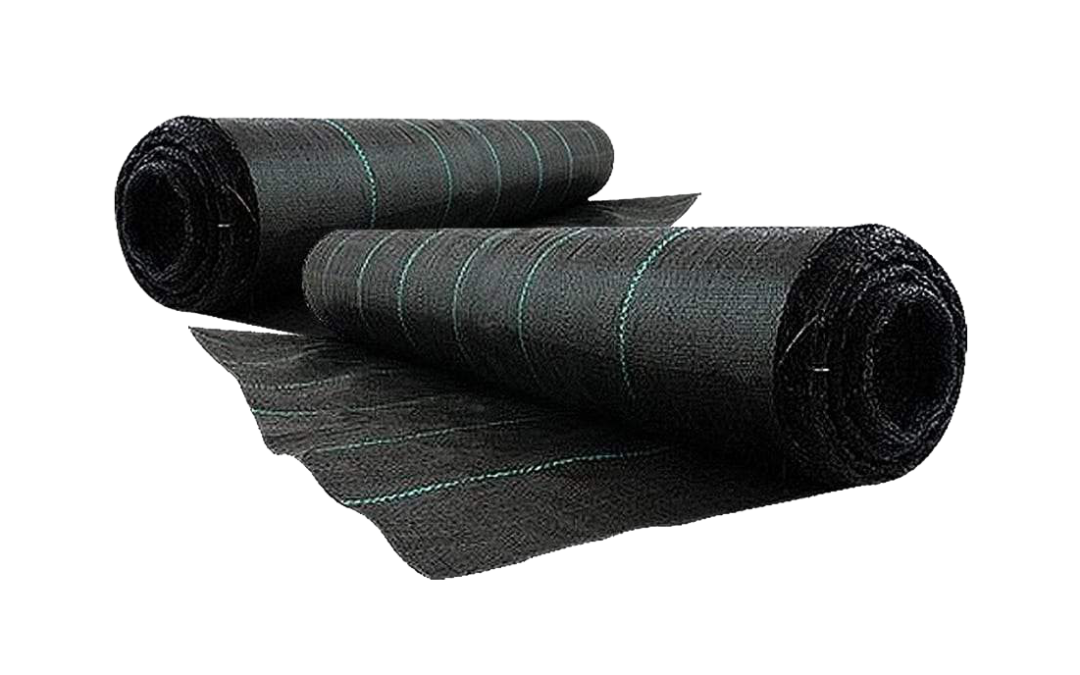
Top Weed Barrier Products
Selecting the right weed barrier is a critical step in achieving a weed-free, low-maintenance artificial turf installation. Whether you’re a homeowner tackling a DIY project or a contractor seeking professional-grade materials, these products provide reliable solutions to keep your turf looking its best.